

Broadcasting, Live Streaming by Industry, Live Streaming Hardware, Hybrid Events, How To Live Stream
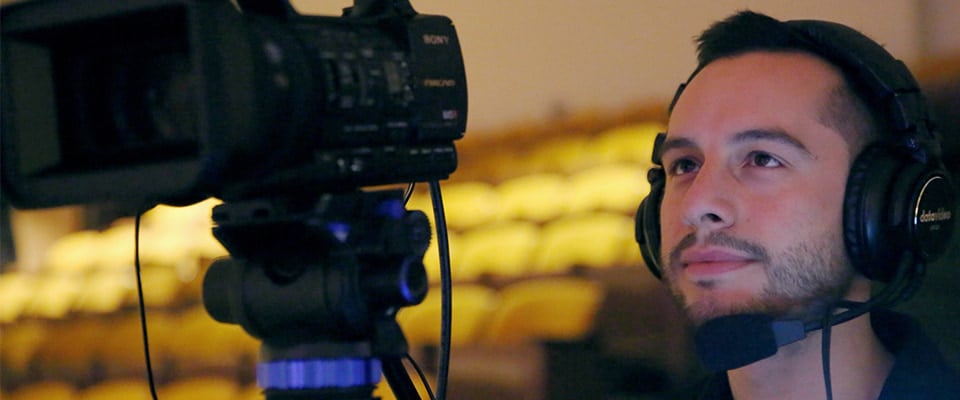
BoxCast videographer and media production entrepreneur Wade Clark has spent years coordinating, streaming, and producing live events for virtual and hybrid audiences. One such event was a hybrid cooking show, in which he used multiple camera angles to make it easy for the audience to follow the action.
This post digs into Wade’s workflow and how he used BoxCast features like Viewer Chat, Replacement Broadcast Upload, Video Indexing, Document Display, and Ticketing to produce an exceptionally engaging broadcast.
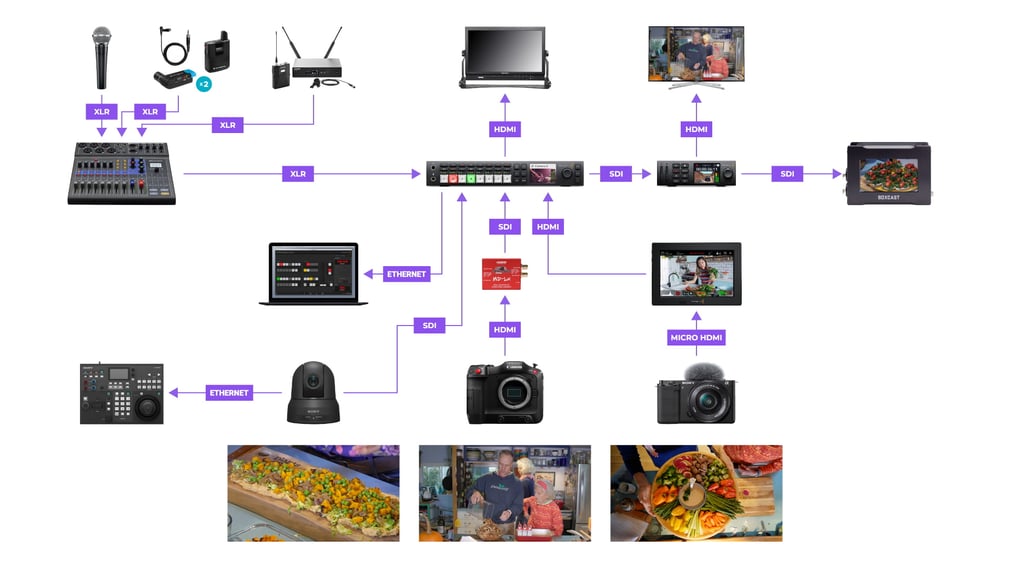
See the workflow diagram and the shot list Wade used for setup below.
Lots of BoxCast customers produce and stream events just like this one — learning how a real-world videographer captures events and streams them online is invaluable for producers in the same boat. We sat down with Wade to talk about his production workflow, how he set up his gear, and how he pulled off an event with so many moving parts.
This multi-cam show was streamed live to viewers who watched online. The broadcast had four camera viewpoints, which Wade cut back and forth between throughout the event. The side shot was filmed from an angle with a pan, tilt, and zoom (or PTZ) camera to create more shots and the effect of a larger number of cameras than were actually used in the production.
The workflow outlined in this post benefits anyone who has to broadcast a show with on-screen talent. If you have hosts entertaining, informing an audience with news or other consistent updates, or if you put on live selling events to customers, use this article as a guide to wow your audience. This workflow is ideal for:
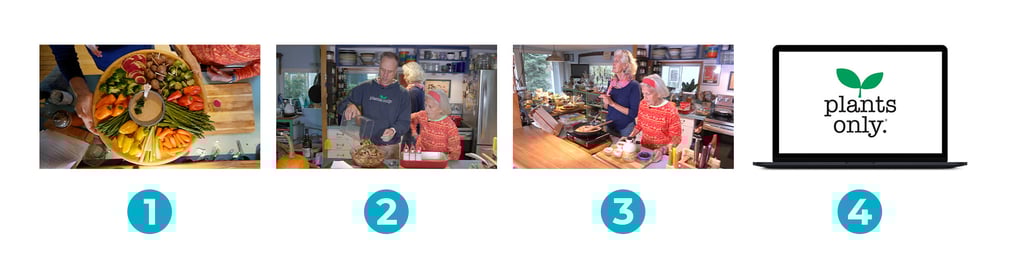
This event was a virtual cooking and education show centered around how to make 15 recipes from the host’s new book. As the producer, my job was to live switch between three cameras, play videos and music from a laptop, and make sure the live stream was working. I did those things myself, but the host had two other people there to help manage the chat — which is key when streaming a broadcast.
I used three different cameras in this setup.
See the shot list image above.
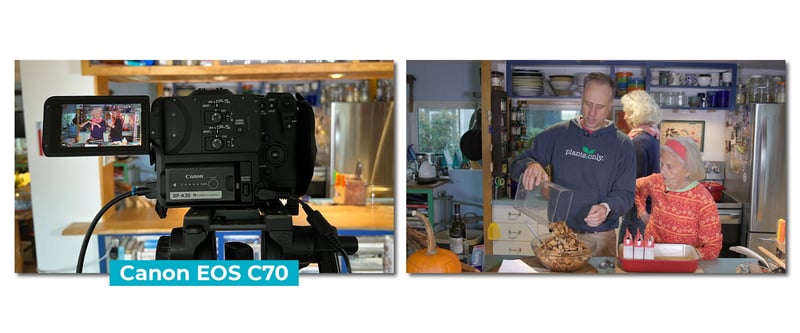
I like to use the Canon C70 for the main camera. It looks great paired with the correct lens, and it has the ability to be plugged into power. When you’re streaming a longer event, it’s important to be sure you don’t have to swap batteries every hour or so.
Another plus: It has a full-sized HDMI output so you can plug it directly into the video switcher without the need of a converter.
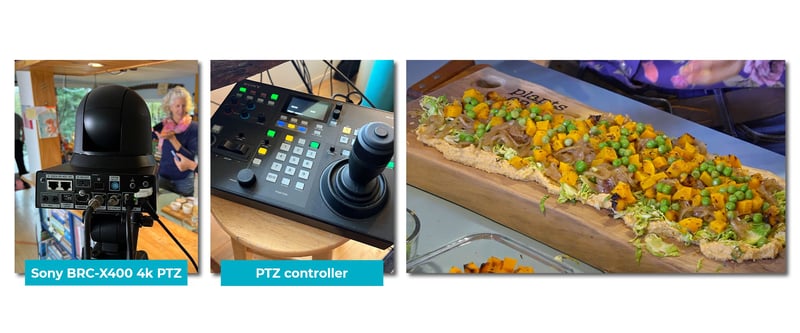
The second camera I used was a Sony PTZ camera. Since I was a one-man show, I needed a way to PTZ a camera remotely. This allowed me to follow the action and zoom in on what was going on with each recipe. With a 20x zoom on this camera, I was able to get super close to the food, cutting board, or product they were trying to show.
This also enabled me to offer a more affordable rate for my services because I didn’t need to bring in a second person to run a camera. I plugged this camera directly into the switcher via SDI or HDMI, and sent an Ethernet signal back to the production table to plug it into the PTZ controller.
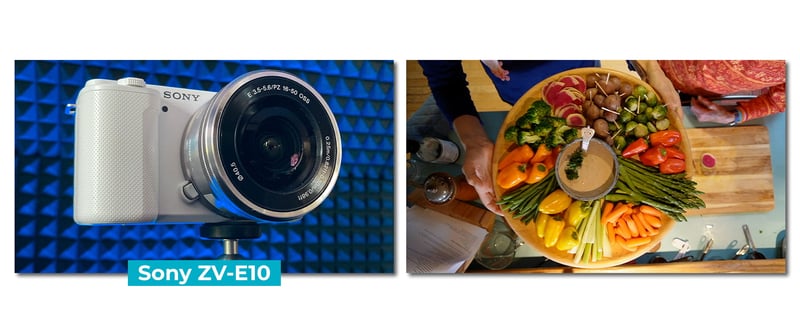
When it comes to filming a cooking show, I’ve found it extremely important to have a camera above the action while it's happening. This lets you see inside of a blender or allows the host to hold up a piece of food directly to the camera. I love using the Sony ZV-E10 for this because it's small enough to be clamped onto a pole or ceiling object with just this small rig clamp.
The only disadvantage of this camera? It has micro HDMI, which only has a cable length of 10 feet. You can buy a longer cable, but it isn’t recommended. To extend the signal, you could plug it into an HDMI repeater, Decimator (HDMI in to HDMI out), or … you could do what I did. Because it was the only thing I had that day, I plugged it into a Blackmagic Video Assist and just went 10-ft. micro HDMI to HDMI cable in to 25-ft. HDMI cable out.
I use the ATEM Television Studio connected to a HyperDeck Mini for backup recording. I love this switcher because it has a mix of SDI and HDMI inputs and outputs. For this event, I had the Sony and C70 plugged in via SDI and the top-down camera plugged in via HDMI. I converted the C70 signal to SDI because I didn't want to trust a longer HDMI cable for the main shot. I also had a laptop plugged in via HDMI to play videos and music.
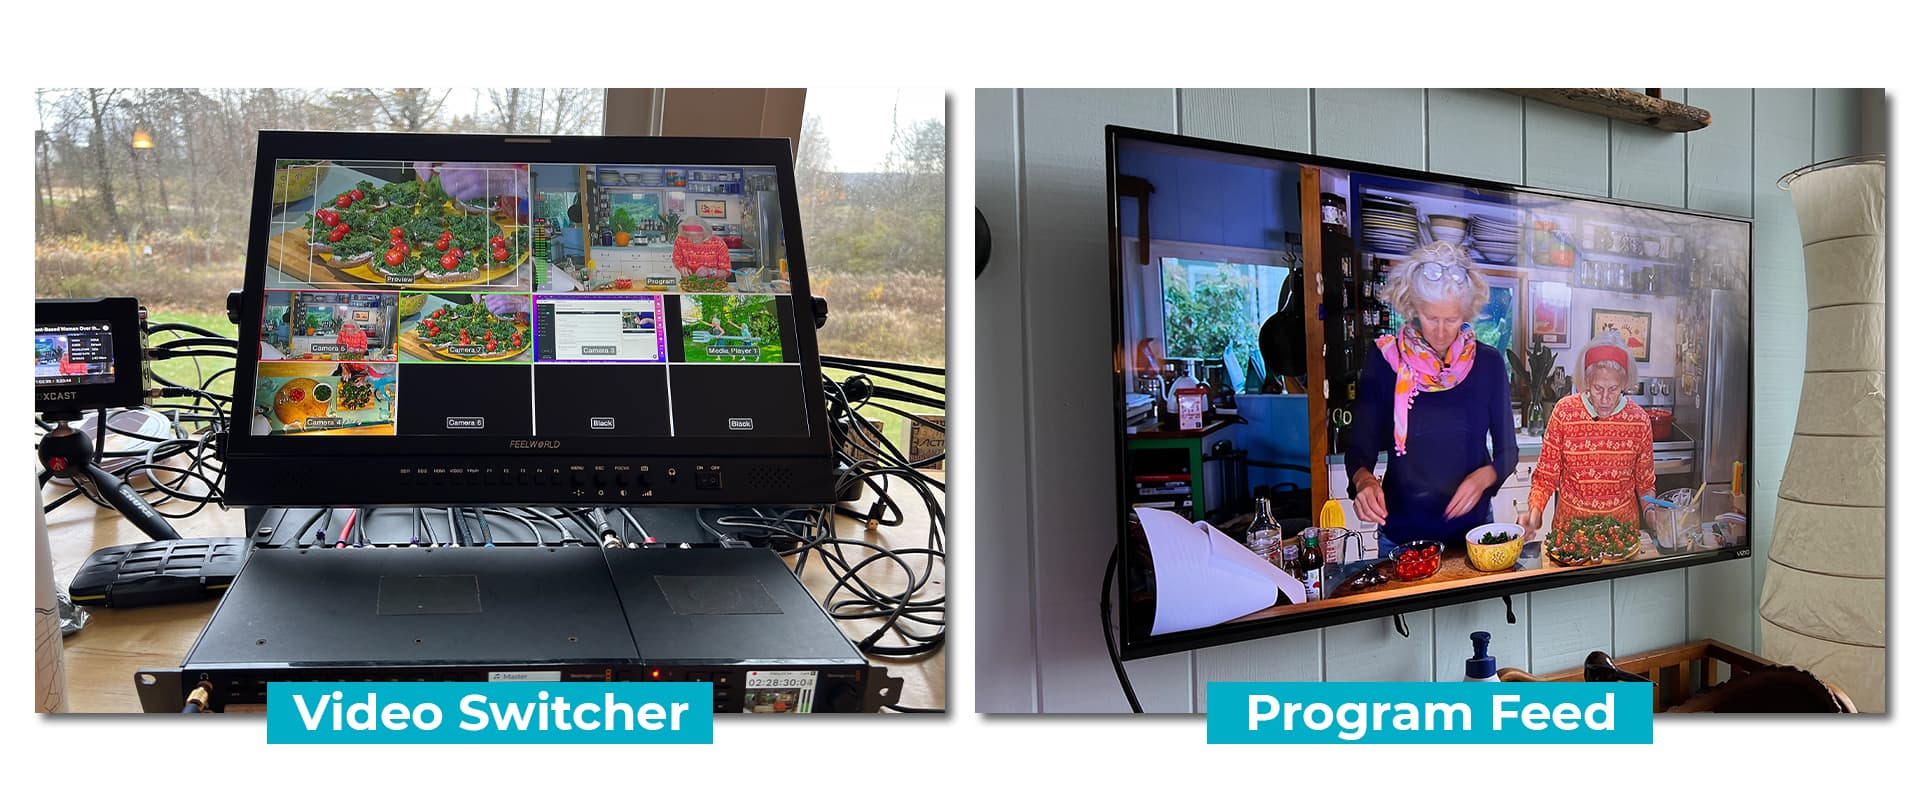
I generally like to switch right on the front of this unit. You can preview and just hit Cut — it’s great. This all outputs into the HyperDeck Mini, which records the program feed from the switcher. Then I output a feed via SDI to the BoxCaster Pro for streaming. This same SDI video carries audio for the stream as well.
This isn’t always necessary, but I ran an HDMI cable out of the HyperDeck Mini to a TV nearby so anyone in the room could see what was live at the moment. The monitor displaying the program feed was for talent, producers, and guests (or even in-person audience members) who were waiting off-screen but still wanted to see what the live stream looked like. It works great when you’re playing a video or have someone who wants to watch without getting in the way.
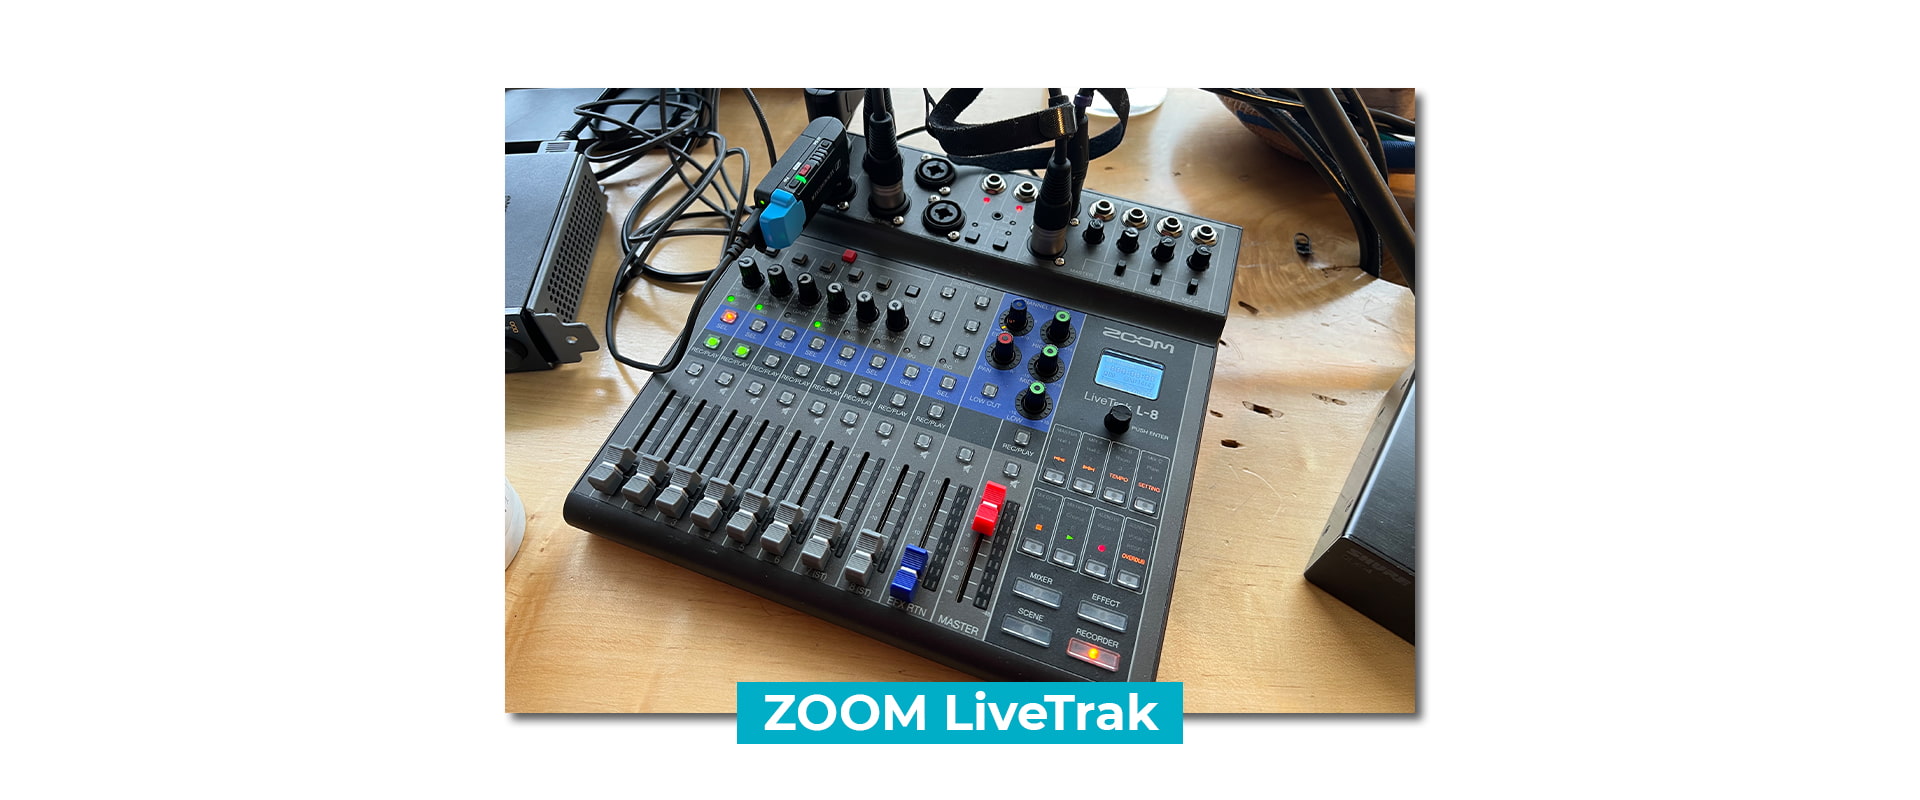
For this event, four microphones were used. I had two lavalier mics on the main hosts, a third lavalier for someone to come in and cook along with them, and a handheld mic plugged in via XLR for the chat moderators. The two main lavaliers I used were Sennheiser AVX-MKE2s, which have a great charging bay for when you aren't using them. The third mic was a Shure QLXD14/83 Digital Wireless Omnidirectional Lavalier Microphone, and the handheld was a Shure SM58.
I've found it's ideal to give the moderators a microphone to ask questions during events with interactive audience participation. Nothing’s worse than when a host starts chatting and the live stream viewers can’t hear them at all — inevitably, the host needs to repeat the question (which they often forget to do).
This all plugged into the Zoom LiveTrak mixer, then went straight into the ATEM switcher via XLR.
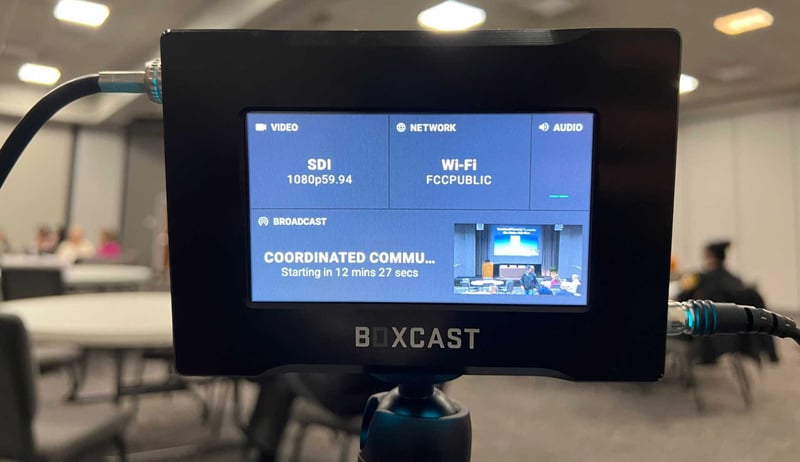
The short answer: BoxCast Flow, reliability, and pro-level features. At this event’s filming location, the internet was very spotty. I could only get anywhere from 3–10 Mbps upload, max. I’ve used other streaming services in the past and had my fair share of hiccups. When I use BoxCast, I use the BoxCaster Pro and limit it to stream to 720p30 at 2.5 mbps. You can see an example of the quality here.
I chose to stream in this quality because the client's internet wasn't always the best. Thanks to HEVC encoding and BoxCast Flow though, it was guaranteed to work. What makes this great is I could quickly adjust the settings in the BoxCast Dashboard before the stream went live and it still looked excellent at that quality level — no buffering or other broadcasting issues came up!
The other reason I use BoxCast is because YouTube and free social media streaming platforms can be a little overzealous when it comes to monitoring and taking down streams for copyright issues. An event like this wouldn’t likely be taken down because no copyrighted material was used, but you just never know. Sometimes the host likes to play music during her breaks — the last thing I want to do is have the stream flagged and have to send a new link to everyone.
BoxCast has a ton of features I like to use during and after the event. These ones were an integral part of this broadcast:
This event wouldn’t have been the same without a live, engaging way to chat with the audience. It gave the hosts so much energy to interact with viewers and answer their questions.
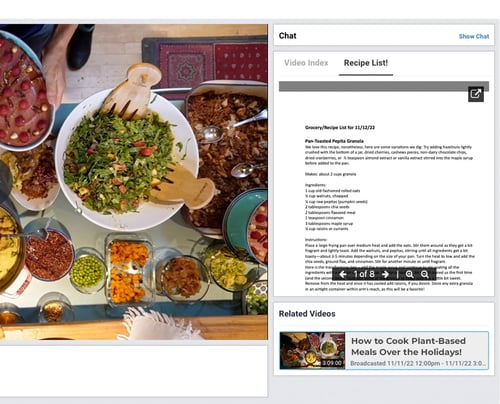
The host filmed 15 recipes during this presentation. Document Display gave us the ability to upload the recipes alongside the broadcast so people could see them while watching the live stream. The host used to get a lot of emails from viewers inquiring where the recipes were after she’d already sent them three or four times via email. This eliminated almost all of those kinds of emails from ending up in her inbox.
This show included a Cook With Me section, where viewers followed along with the recipe live as the hosts cooked. Document Display is wonderful to use if your own broadcast has similar segments or if you want to give your viewers added context/info while they watch.
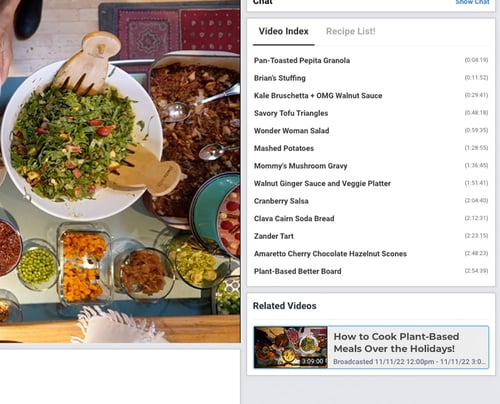
After the stream was over, we were able to index where each recipe started. This let users jump from one recipe to the next if they wanted to cook it again.
Remember when I said I had to lower the quality to ensure the stream would work because of bad internet? With my 1080p60 local recording, I was able to re-upload it after the fact. So if someone watched it later, they’d see my super-clean, great looking recording. I don't think the 720p30 stream looked bad — this was just a bonus for viewers!
The host uses Eventbrite to sell her tickets upfront, but once the event is over, she makes her show available as a video on demand (VOD) and uses BoxCast’s Ticketing feature to sell the broadcast to viewers who might have missed it live. She likes doing this after events because all she has to do is post the link — BoxCast handles the rest. BoxCast’s friendly Support team even helps her viewers if they need assistance finding the right link or with refunds.
Planning out the live stream with your client is key. Make sure you have a game plan and are on the same page with them going into it. For this event, the host and I had two or three meetings before the stream to go over the schedule and expectations — like when she wanted to play videos, show graphics, etc. Also, if it's your first time working with a client, get to the venue early or the day before to set up. Show the client everything’s in order so when it's showtime, you’re both less stressed. And reducing stress with preparation beforehand is always good advice.
Working on your own multi-cam production with hosts and demos? Use this videographer’s workflow to guide your own setup. If you’re streaming other events and programs, check out these templates to help you configure your workflow:
